Step 2 (of 5)
2. Collect Authenticated ORCID iDs and permissions
In this step, learn how to get an Authenticated iD and the permission necessary to read and write data to and from an ORCID record.

ORCID integrations use “3 legged OAuth” to authenticate users and request permission to interact with their records. ORCID members can use the Member API to ask for read and write permissions.
In this section, we’ll walk through the steps that your own custom integration would need to complete in order to get an Authenticated iD and permission to read and write to an ORCID record
Getting an Authenticated iD and record access permission from a user involves following OAuth 2.0, an industry-standard protocol for authorization. OAuth allows a user to give a website or application access to account information stored on another site, without giving that site their password.
If you’ve ever signed into a site using Google or Facebook instead of your credentials for that particular site, you’ve already used OAuth!
The OAuth process includes 3 steps:
- Create an authorization URL
- Get an authorization code
- Exchange the authorization code for an access token
To kick off the OAuth process, we’ll need to create a special authorization URL that sends users to an ORCID sign-in screen. This URL consists of Authorization endpoint, plus Parameters that identify your organization and the permissions you want to request.
| Parameter | Description | Example |
|---|---|---|
| response_type | code | |
| scope | API action(s) you want to request permission for, from the list of ORCID Scopes | /person/update /activities/update /read-limited /authenticate |
| client_id | Your Member client ID (issued by ORCID) | [APP- ***] |
| redirect uri | Page that users will see after they complete the authorization process. ( For this tutorial it will be Google OAUth Playground) | https://developers.go ogle.com/oauthplayground |
To request permission to add/update activities (affiliations, funding, works, peer review, research resources), and to add/update personal items (other-names, keywords, countries, researcher-urls, websites, and personal external identifiers) and to read the ORCID record, the authorization URL will be:
https://sandbox.orcid.org/oauth/authorize?client_id=[APP-****************]&response_type=code&scope=/read-limited%20/activities/update%20/person/update&redirect_uri=https://developers.google.com/oauthplaygroundBut we can use Google OAuth playground to help us to build the authorisation URL
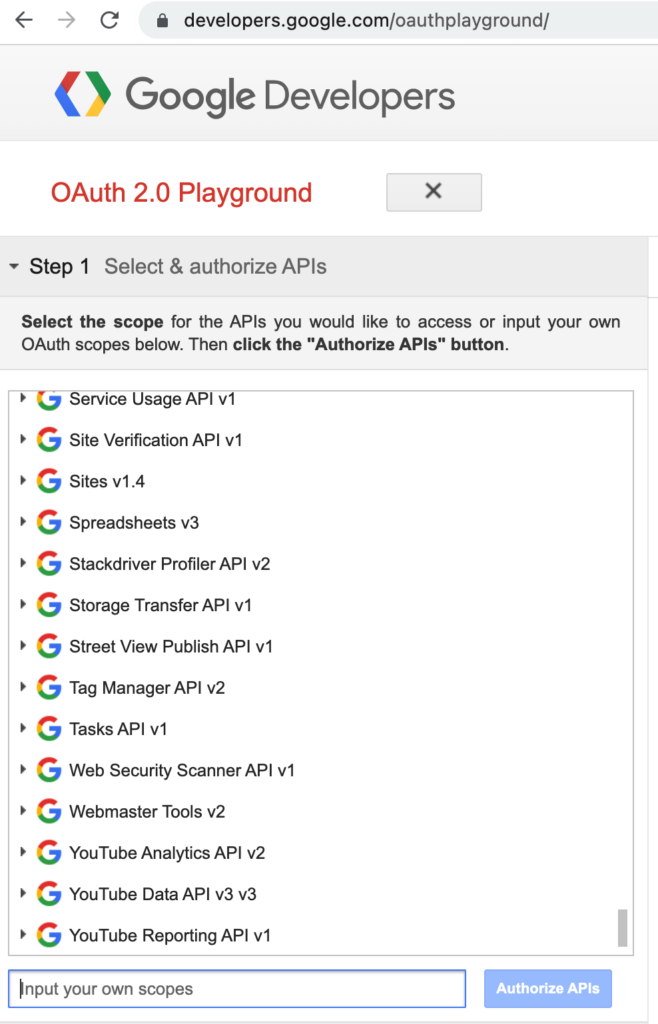
- Add /activities/update, /person/update, /read-limited into the scopes field and click Authorize API’s.
The authorization URL would have been created using the information that you have entered into the configuration and the scope fields.
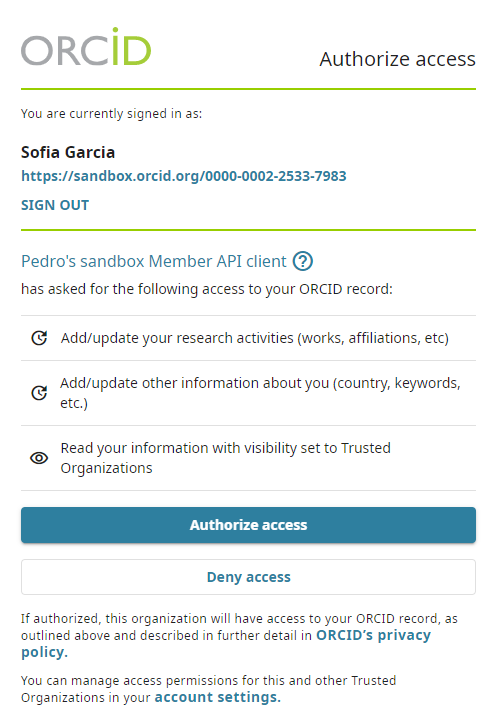
- An ORCID sign-in screen will appear; sign into your Sandbox account with the email address and password that you used to create your ORCID account at the start of this tutorial. Once you have signed in, the OAuth screen will appear. The client name and the relevant scopes will show on this screen. To grant access you need to click ‘Authorize access’
- After granting permission, you’ll be redirected back to the Google OAuth Playground as this was the redirect URI associated with your Sandbox credential. A 6-character Authorization code will appear at the end of the redirect URI in the browser address bar (and under the Step 2 section on the left of the page in google oauth playground)
Secure https://developers.google.com/oauthplayground/code=s536Z5Once you have an authorization code, you can exchange it for an access token and the Authenticated iD of the user who signed in, which you’ll need in order to take the API action(s) you requested permission for.
In a real-world situation, this exchange would be done by your system, using a programming language such as PHP, Java, or Ruby on Rails. For this tutorial, we’ll use Google OAuth Playground to simulate a web application.
- Click ‘Exchange authorization code for tokens’
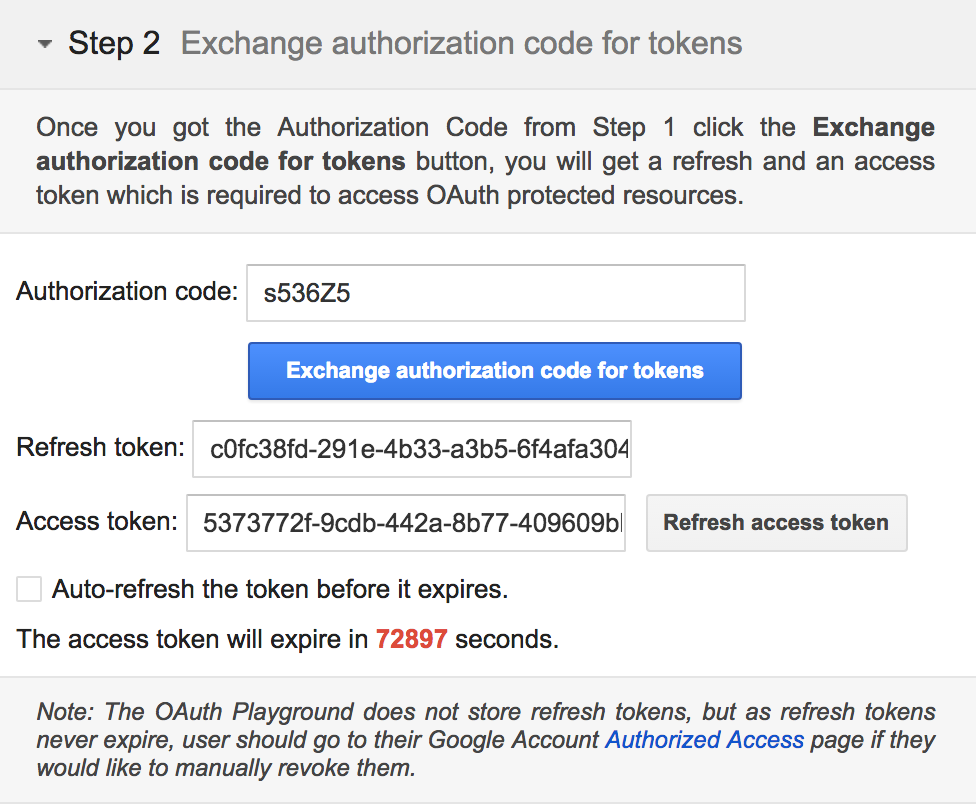
Once you click “Exchange authorization code for tokens” Your access token and Authenticated iD will appear in the Request/Response section on the right. Please see the example below:
{
"name": "Sophia Garcia"
"access_token": "53737721-9cdb-442a-8b77-409609bb5e43",
"expires_in": 631138518,
"token type": "bearer",
"orcid":
"0000-0002-4456-8947"
"scope": "read-limited /activities/update person/update "
"refresh token": "cOfc38fd-291e-4633-a365-6f4afa304344"
}- Save this token!
It is important to save the token you received in the step above as you can easily create any calls you need to make with it. We would recommend that you store the full token exchange response
You have now collected an Authenticated ID and permission from the user to read their ORCID record and update their ORCID record.